Shopify Online Customer Service Integration Instructions
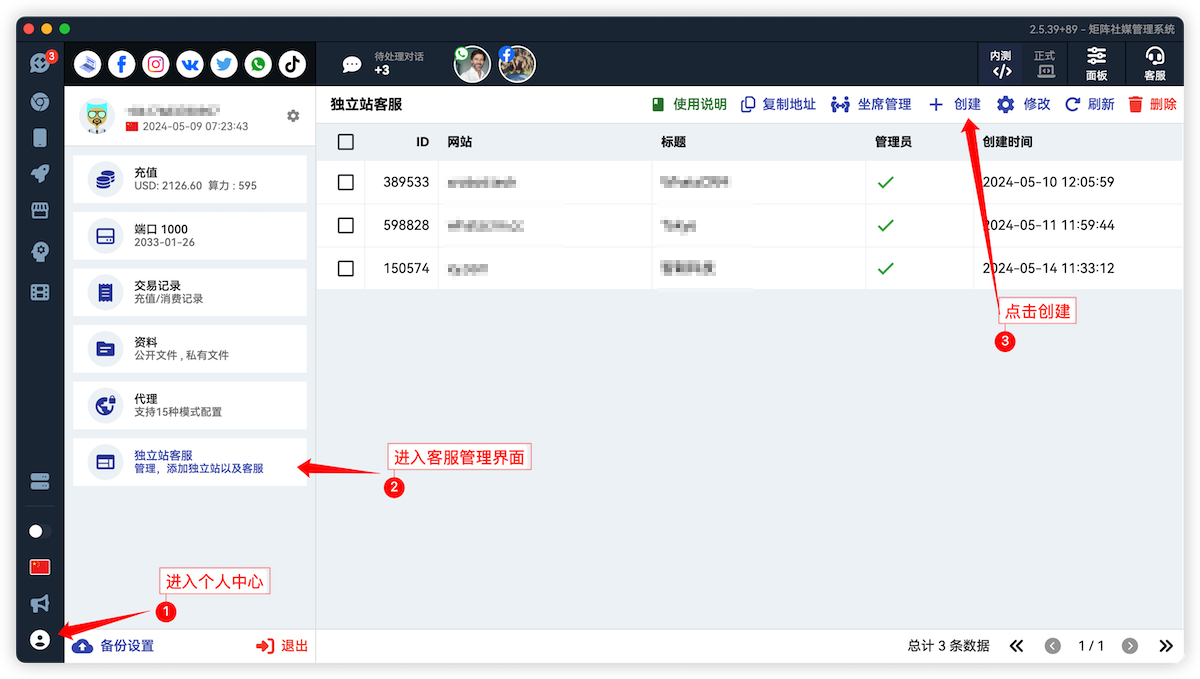
1. Create Standalone Website Customer Service
- Enter Personal Center
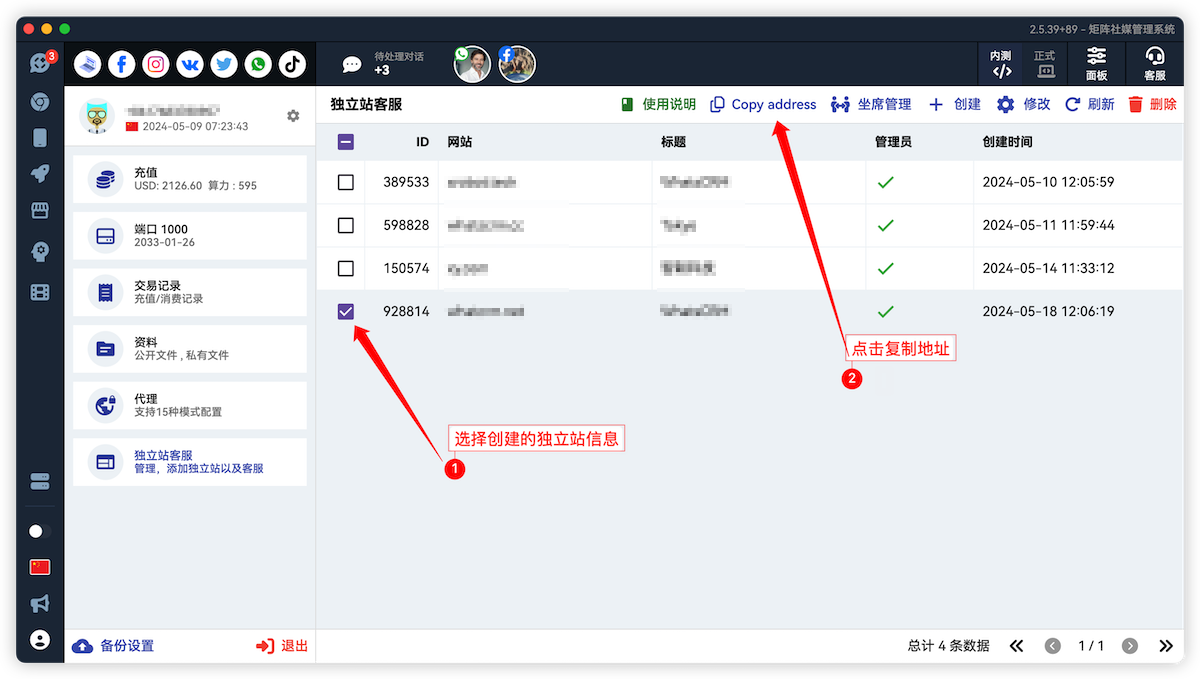
- Click to enter Standalone Website Customer Service
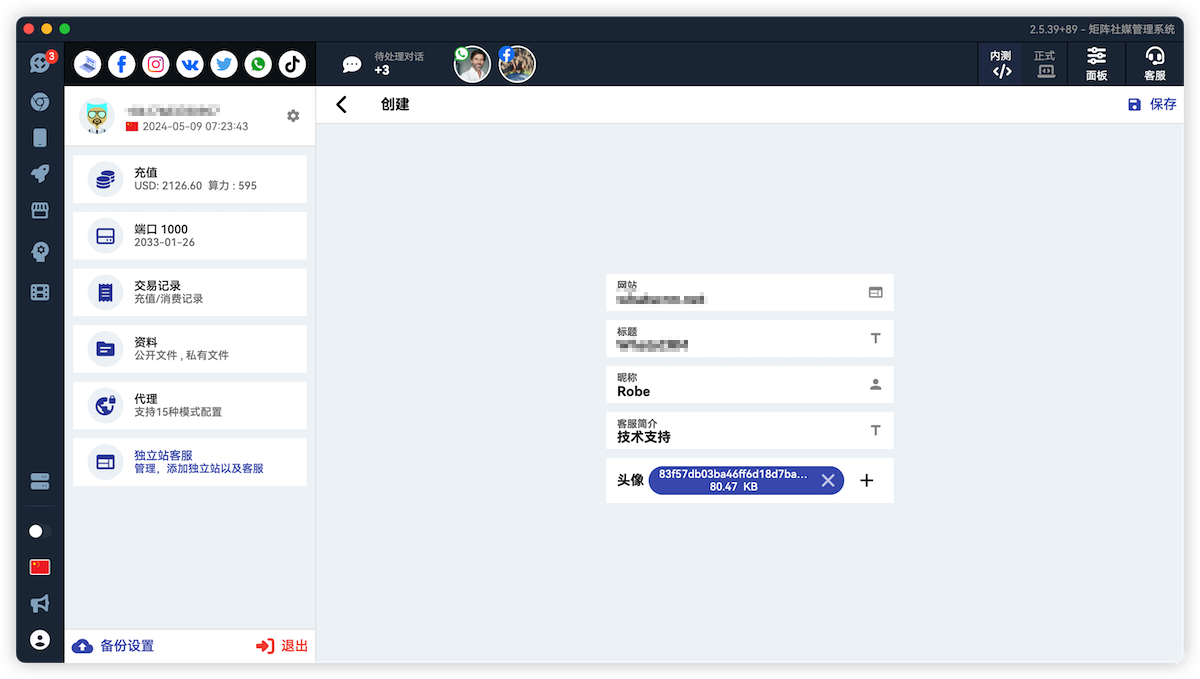
- Click Create
- Enter website domain
- Enter website title
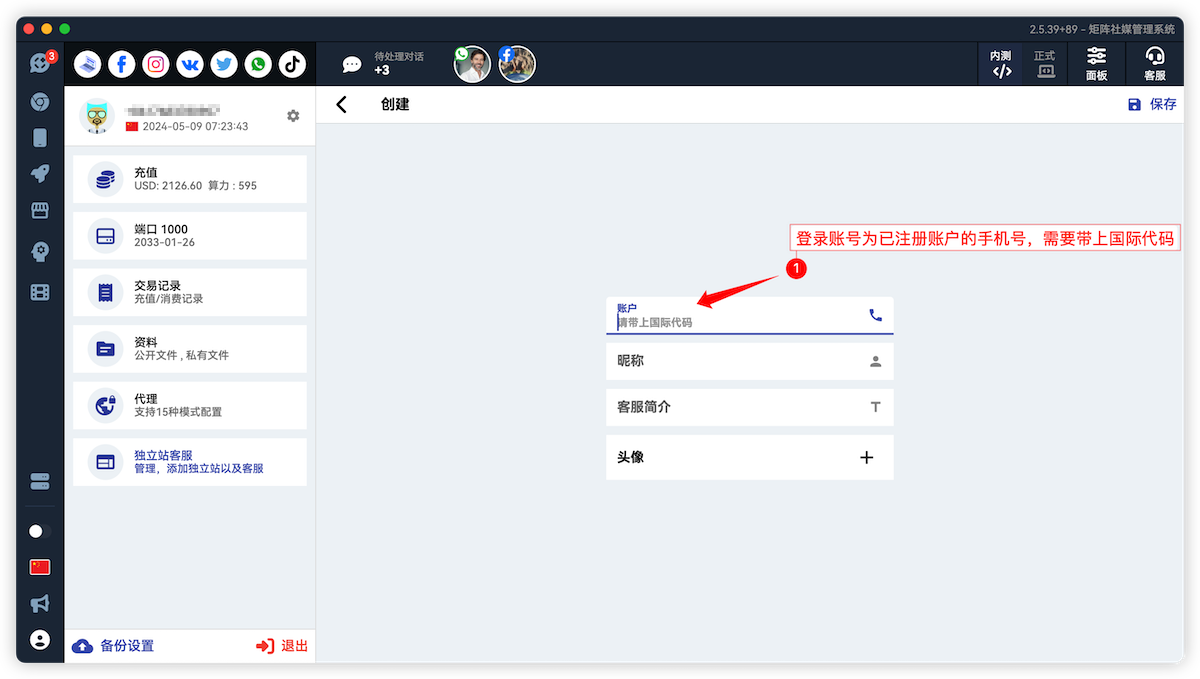
- Enter customer service display nickname
- Enter customer service display introduction
- Select and set avatar, avatar aspect ratio needs to be 1:1
- Click Save
- Copy customer service link
- Concatenate customer service JavaScript code
The copied link is similar to this https://help.kechacha.com/chat/xchat.js?u=928814
Assuming your customer service link is
https://help.kechacha.com/chat/xchat.js?u=928814
The concatenated customer service JavaScript code
<script type="text/javascript" src="https://help.kechacha.com/chat/xchat.js?u=928814&t=1.0.0"></script>
Where t=1.0.0 is used to specify the version number of the customer service code. If the customer service system is upgraded later, just change the value here, such as t=1.1.0
2. Shopify Store Integrate Customer Service Link
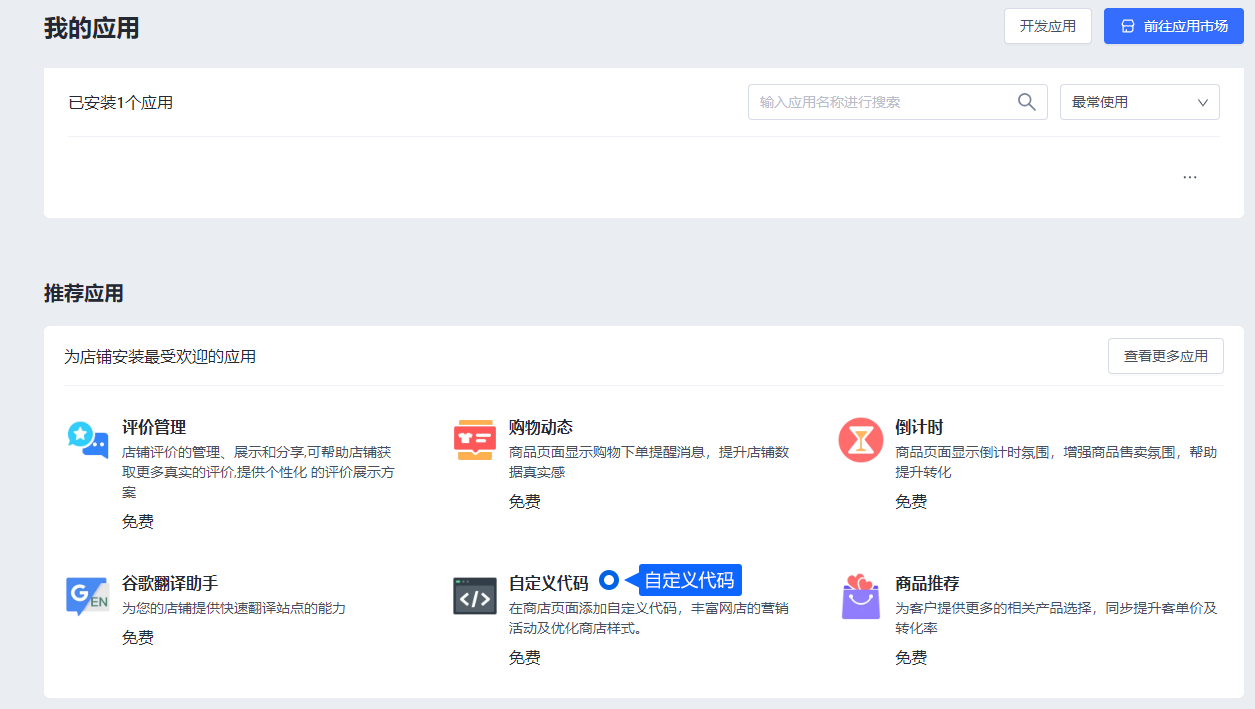
Log in to ShopLine and enter the "Application-Store Management" module;
- Click [Custom Code];
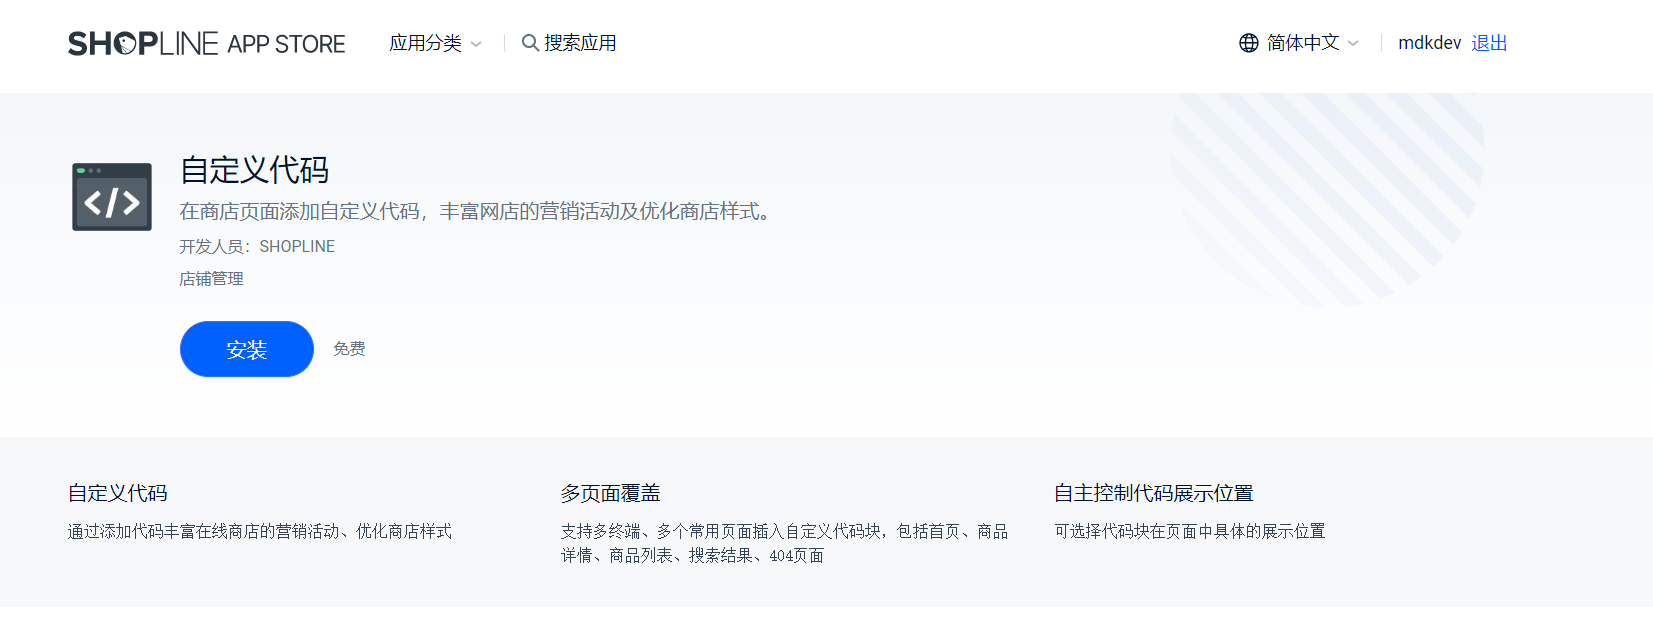
- Click [Install] to enter the custom code page;
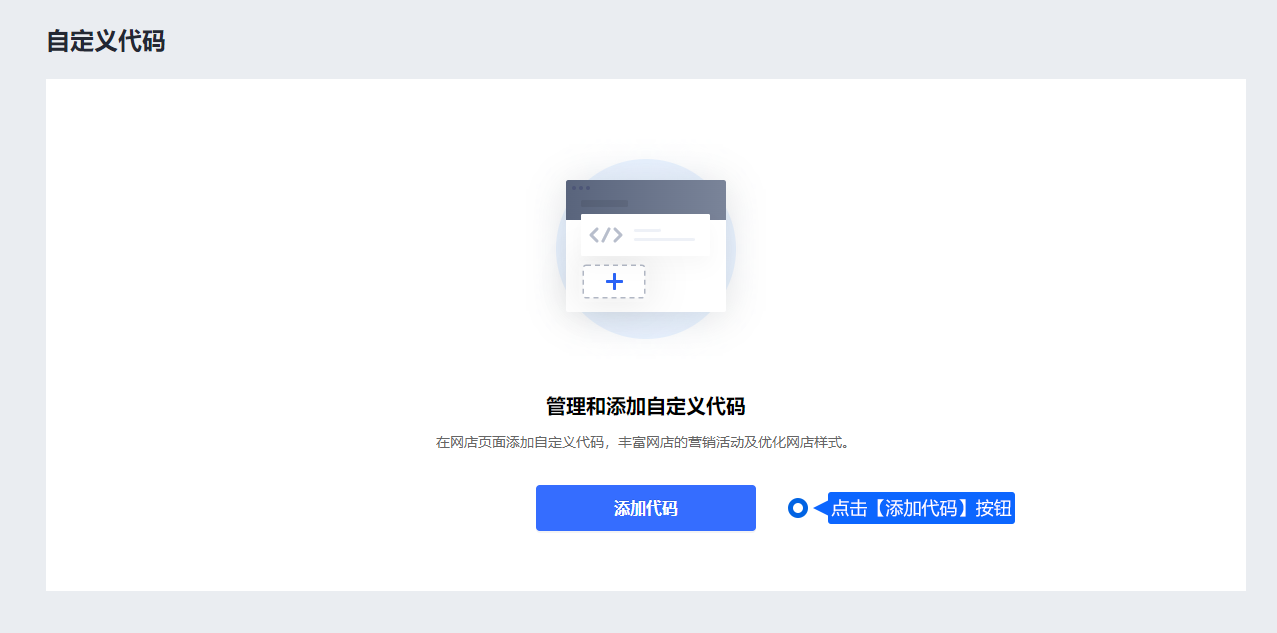
- Click [Add Code] to enter the code editing page
On the code editing page, paste the customer service Javascript code into the [Code Content] input box, set the basic information on the right, and click the [Add] button to install successfully.

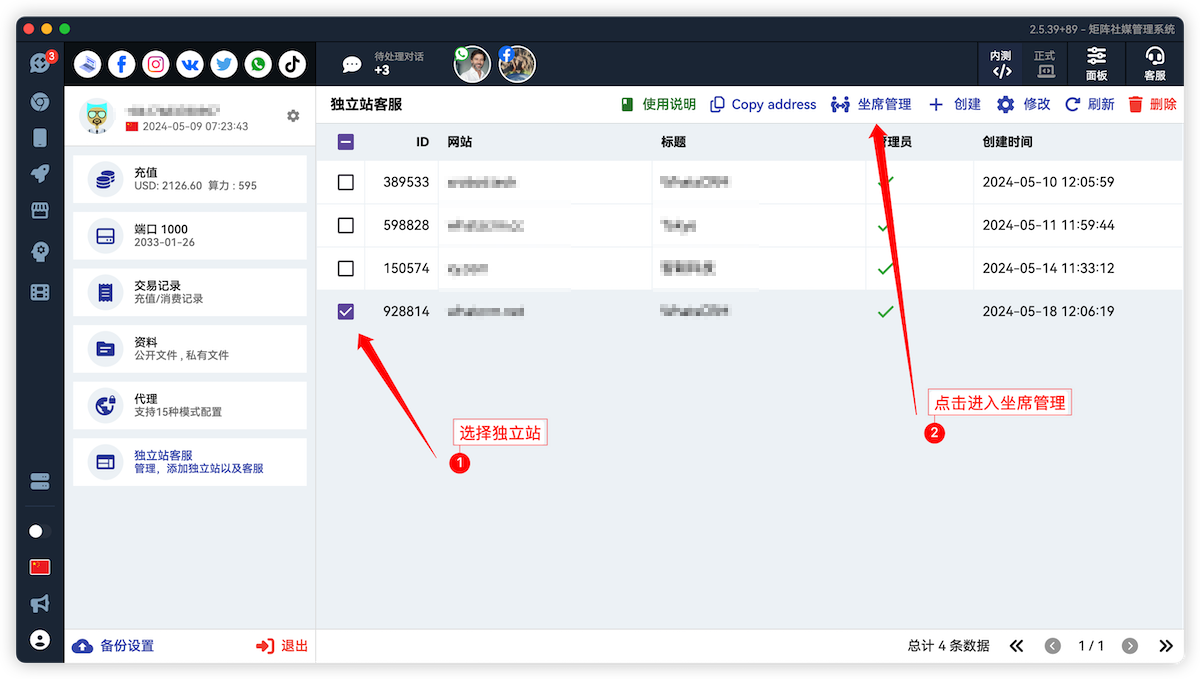
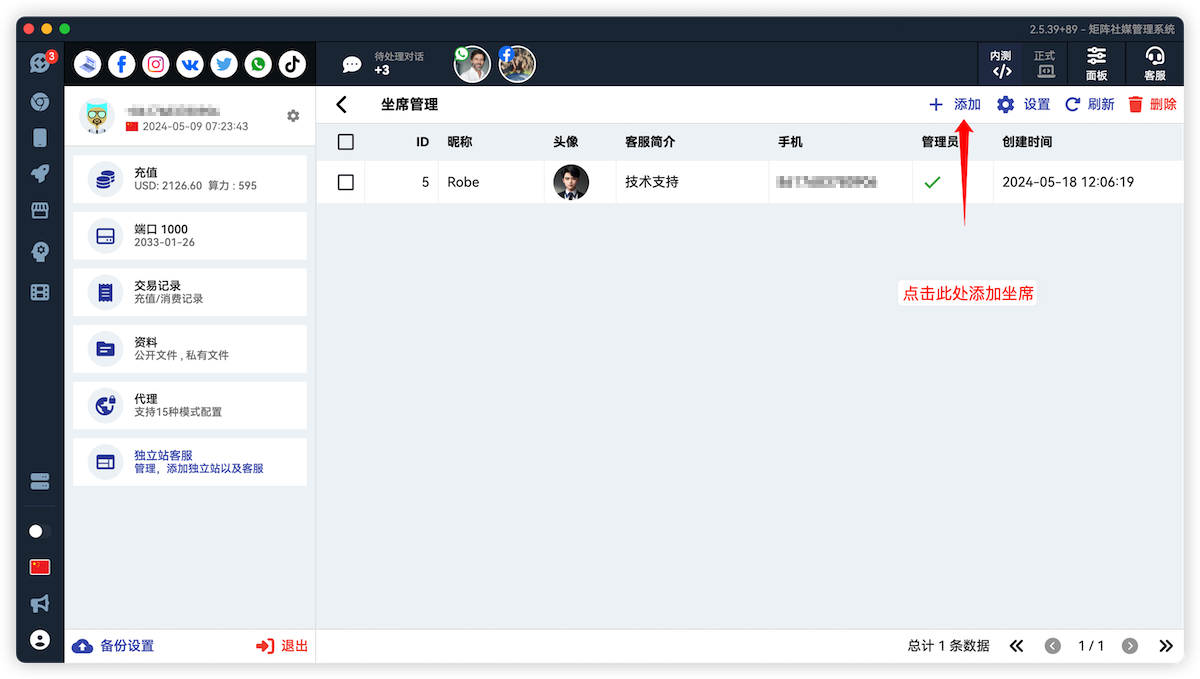
3. Add Agent
The above operation will only add the creator of the standalone website as an agent by default. If you want to add multiple agents, follow the instructions in the following figure.
Each agent is a valid GTM account. To activate an agent, please contact customer service to set a reasonable validity period for your agent account.